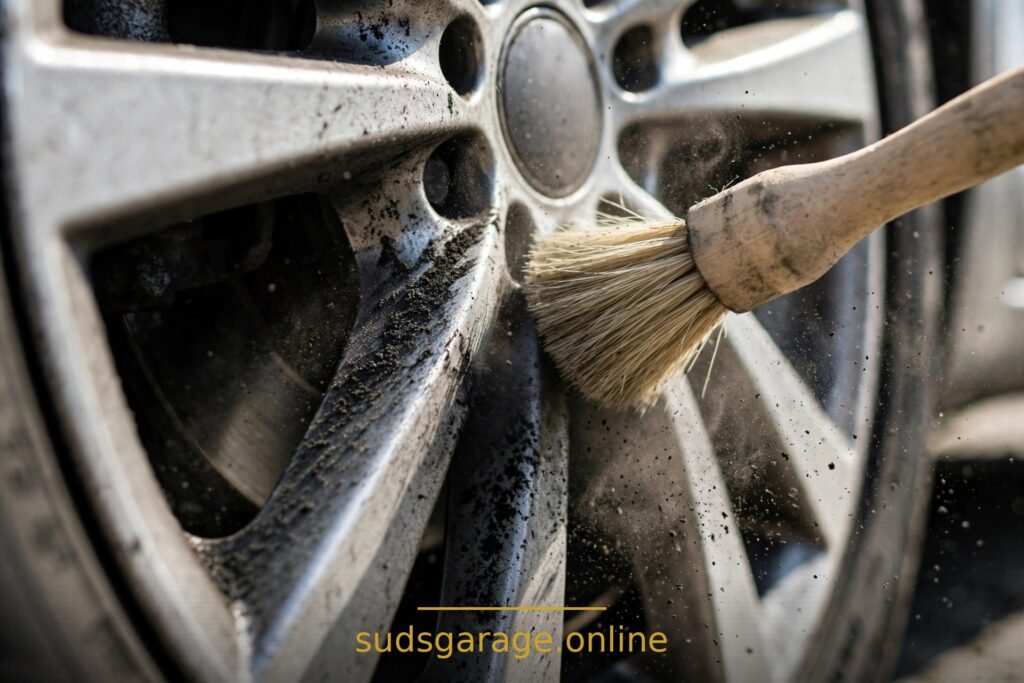
TL;DR: Learning how to remove brake dust from wheels without damaging the finish starts with one rule: match the cleaner to the wheel, not to the dirt. Work on cool wheels, rinse first, use a pH-neutral wheel cleaner for regular cleaning, and save an iron remover for baked-on dust. Agitate with soft brushes only — face, spokes, lug nuts, and the inner barrel — then rinse fully, dry, and protect with a wheel sealant. Harsh acid cleaners and stiff brushes are how a cleaning job turns into a refinishing bill.
In this guide:
- What brake dust actually is (and why it bonds so hard)
- Know your wheel finish first — the step everyone skips
- What you need
- Step by step: cool, rinse, clean, agitate, tires, rinse, dry, protect
- Baked-on rescue: iron remover, clay, and when to stop
- Prevention: how often, and how to make next time easier
- Mistakes that damage wheels
- FAQ
What brake dust actually is (and why it bonds so hard)
Brake dust is not ordinary road dirt. Every time you brake, the pads shed tiny metal particles — mostly iron — that land on your wheels and, through repeated heat cycles, bond to the finish. Light dust rinses off; dust baked on through weeks of driving does not, which is why a wheel rinsed every wash stays easy and a wheel ignored for two months suddenly needs chemicals.
That bonding is why scrubbing harder is the wrong answer. The dust is metallic and sharp, so dragging it across the finish with a dry rag or stiff brush grinds it in. The job is chemical first, mechanical second: dissolve the bond, then lift the residue away with soft tools and plenty of water.
Safety note: do not blow brake dust off dry wheels with compressed air, and avoid breathing it in. Work ventilated, rinse dust wet, wash hands after. Wet dust is a cleaning problem; airborne dust is a health problem.
Know your wheel finish first — the step everyone skips
Most wheel guides jump straight to “spray cleaner.” That is backwards — the wrong cleaner on the wrong finish is the fastest way to damage a wheel. Identify yours first:
- Clear-coated alloy (most factory wheels). The most forgiving finish: pH-neutral cleaners and iron removers are safe, and most products are designed for it.
- Chrome. Strong acids and abrasive pads damage the plating. pH-neutral cleaners and soft brushes only — never steel wool or scouring pads.
- Matte or satin black. Scratches show easily and glossy sealants can change the look. Gentle cleaners only; test sealant on a hidden spot first.
- Bare polished aluminum or magnesium. No protective coating, and the finish acids etch and stain. Unsure? Treat them as uncoated: pH-neutral only, no acids.
If you cannot tell, default to pH-neutral cleaner and soft brushes. Aggressive chemicals are only ever a considered choice for a known finish, never a guess.
What you need
- A hose or pressure washer on a sensible setting — strong enough to rinse well, not so close it forces water past seals.
- A pH-neutral wheel cleaner, plus an iron remover for baked-on dust. You do not need both every time — the iron remover is the occasional deep-clean tool.
- A soft wheel brush for faces and spokes, a long barrel brush for the inner barrel, and a small detailing brush for lug nuts and valve stems. Keep them separate from paint tools — wheel brushes never touch paint, paint mitts never touch wheels.
- A tire brush, tire cleaner, and tire dressing if you use it.
- Clean microfiber towels for drying, kept separate from paint towels.
- A wheel sealant or ceramic spray rated for wheels. Regular paint wax melts off hot wheels fast.
For the paint wash that comes after wheels, see our guide to how to wash a car without scratches. Wheels go first in every wash, for a reason you will see in step one.
Step by step: cool, rinse, clean, agitate, tires, rinse, dry, protect
Step 1: Work on cool wheels, one at a time
Never clean wheels straight after driving. Hot wheels flash-dry cleaner onto the finish, and dried chemical stains. Wait until wheels are cool to the touch — usually at least 30 minutes after a drive — and work one wheel at a time so cleaner never dries while you are busy elsewhere.
Step 2: Rinse thoroughly first
Rinse wheel, tire, and wheel well with a strong jet, getting behind spokes and into the barrel. This removes loose dust and grit so your brush is not dragging it across the finish — the cheapest scratch-prevention step there is.
Step 3: Spray the cleaner and let it dwell
Spray pH-neutral wheel cleaner over face, spokes, lug nuts, and as much barrel as you can reach. Let it dwell per the label — usually two to five minutes — and do not let it dry; if it starts drying, mist it or rinse and reapply. Dwell time does real work: it loosens the dust-to-finish bond so soft brushes finish the job instead of force.
Step 4: Agitate face, spokes, lug nuts, and barrel
Use the soft wheel brush on face and spokes, straight overlapping strokes, light to moderate pressure. Then the detailing brush around lug nuts, valve stem, and center caps. Then the barrel brush deep into the inner barrel — the area most people skip, where the heaviest buildup lives. If your brush comes out black, rinse it before going back in; a loaded brush just redistributes dust.
Step 5: Tires and wheel wells
Scrub the tire sidewall with tire brush and tire cleaner — tires take a firmer brush than wheels. Rinse the wheel well too: mud and grit there splash back onto clean wheels. If you use tire dressing, apply it to the tire only, with an applicator, kept off the wheel face and away from brake parts. Dressing on a wheel face looks smeary and attracts dust; near brakes it is a safety problem, not a cosmetic one.
Step 6: Rinse completely, then dry and inspect
Rinse until water runs clear, flushing behind spokes and around lug nuts where cleaner hides. Leftover cleaner dries into streaks and, on some finishes, stains. Dry with a clean microfiber towel — drying prevents water spots and doubles as your inspection pass. Look from a low angle in good light: faint dark specks that survived are usually embedded iron, the baked-on rescue below, not a reason to scrub harder.
Step 7: Protect while the wheel is clean
Apply a wheel sealant or ceramic spray rated for wheels, per its label. Wheels run hot and live behind brake dust, so protection earns its keep fast here: dust lands on sealant instead of finish, and next wash is mostly a rinse. Reapply every few months, or when water stops beading.
Baked-on rescue: iron remover, clay, and when to stop
If regular cleaner leaves dark specks or a gritty feel after drying, you are dealing with embedded iron. Spray iron remover on the cool, rinsed wheel, let it dwell per the label, and watch for the color change — usually purple or red — as it dissolves iron. Agitate gently, rinse thoroughly, never let it dry. One or two applications handle most neglected wheels.
If specks remain, a fine-grade clay bar with plenty of lubricant, used gently on the wheel face, shears off what is left. Clay after chemical removal, never instead of it — claying over heavy contamination drags iron across the finish.
Know when to stop. If the surface is pitted, the clear coat is peeling, or staining survives both iron remover and clay, the damage is in or under the finish, not on it. No cleaner fixes peeling clear coat or pitting — that is refinishing or replacement. Polishing harder just thins what is left.
Prevention: how often, and how to make next time easier
Wheels cleaned every one to two weeks rarely need anything stronger than a pH-neutral cleaner and a brush. Habit matters more than product: frequent light cleaning beats infrequent heroic cleaning, and it is safer for the finish. Heavy-dusting pads or mostly stop-and-go driving mean the short end of that range.
Three things matter most.
- First, seal the wheels — protected wheels rinse clean in half the time. For how spray sealants and ceramic coatings compare, see our guide to ceramic coating at home.
- Second, keep wheel tools separate from paint tools, so brake dust never migrates to paint.
- Third, wash wheels before paint every time, so splatter lands on a dirty car, not a clean one.
Mistakes that damage wheels
- Cleaning hot wheels. Cleaner flash-dries and stains. Cool to the touch first, every time.
- Strong acid cleaners on the wrong finish. Fast on dust, brutal on chrome, matte, and bare aluminum. Least aggressive cleaner that works, always.
- Letting any cleaner dry on the wheel. Dried chemical is a stain by definition. Work one wheel at a time, in the shade when you can.
- One brush for everything. A wheel brush on paint scratches paint; a paint mitt on wheels carries metallic dust to paint. Separate kits, no exceptions.
- Scrubbing baked-on dust with force. Pressure does not dissolve iron — chemistry does. Harder scrubbing just scratches the finish around the dust.
- Tire dressing on wheel faces or brakes. Dressing belongs on rubber, applied with an applicator, kept off wheels and brake parts.
- Skipping the barrel and wells. The dirtiest parts are the ones you cannot see from the curb. Clean them, or the job is half done.
FAQ
How often should I clean brake dust off my wheels?
Every one to two weeks for most daily drivers, more often if your pads dust heavily or you drive mostly in traffic. Frequent light cleaning beats letting dust bake on for months and then needing chemicals to rescue it.
Can I use regular car shampoo on wheels?
For light dust, yes — shampoo and a brush handle a well-maintained wheel fine. But shampoo does not dissolve bonded iron, so baked-on dust needs a dedicated wheel cleaner or iron remover. Shampoo is maintenance; wheel cleaner is treatment.
Are iron removers safe for all wheels?
Iron removers are safe for most factory clear-coated wheels when used as labeled — cool wheel, stated dwell time, thorough rinse, never allowed to dry. Be cautious on bare polished aluminum and damaged finishes, and test a hidden spot first if unsure.
Why do my front wheels get dirtier than the rears?
Most cars brake harder with the front brakes, so fronts collect more dust. It is normal, not a fault — but if one front wheel is dramatically dirtier than the other, that is worth a brake inspection, not just a wash.
Will a wheel sealant really make cleaning easier?
Yes — noticeably. A sealed wheel sheds dust with a rinse where an unsealed wheel needs agitation. It wears off with heat and washing, so reapply every few months.
Closing note: SudsGarage is a DIY information blog, not a detailing service. Nothing here is a booking offer, and no result is guaranteed — wheel finish, pad type, and previous damage all affect the outcome. If a wheel has peeling clear coat, corrosion, or structural damage, refinishing or replacement is the right answer, not stronger cleaner.