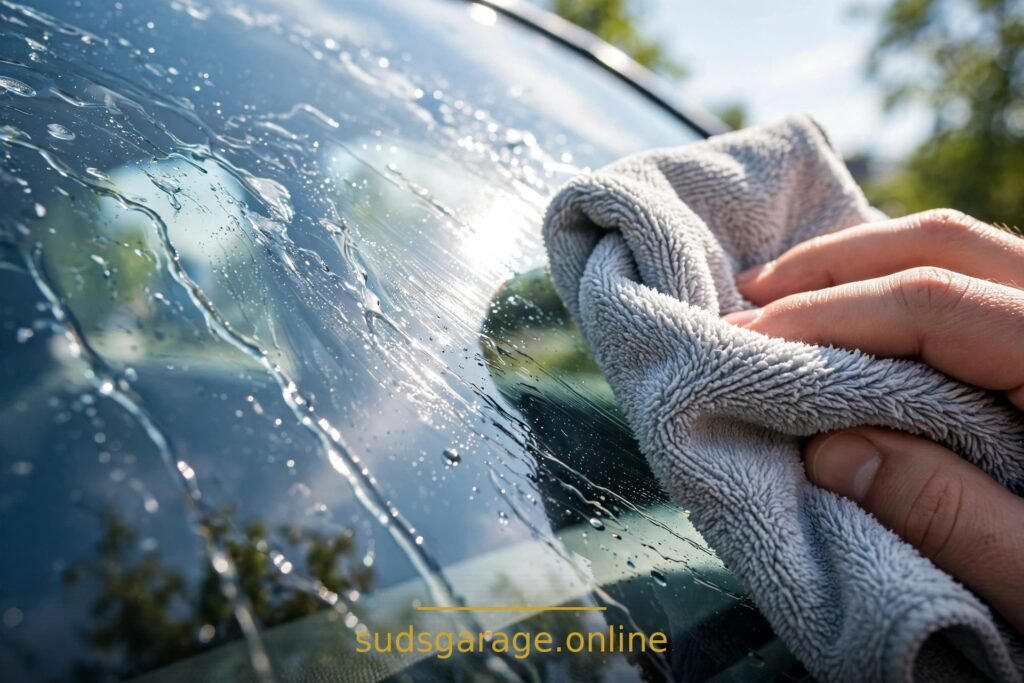
TL;DR: Learning how to clean car windows without streaks comes down to three things: cool glass, two clean microfiber cloths, and opposite wipe directions inside and out. Work in the shade, dust the glass first, wipe with one cloth and buff immediately with a second dry one, and use vertical strokes outside and horizontal strokes inside — then any streak you see tells you which side it is on. Paper towels, hot glass, and ammonia cleaner on tinted windows are the three fastest ways to streaks.
In this guide:
- Why windows streak (it is usually not dirt)
- What you need
- Step by step: shade, dust, two-towel method, edges, interior film
- Tinted windows: the safety rules
- Stubborn haze: water spots, film, and etched glass
- Mistakes that cause streaks
- FAQ
Why windows streak (it is usually not dirt)
Most streaks are not dirt — they are residue. Interior plastics release a faint oily film that settles on the inside of the glass, especially the windshield. Skin oils, old cleaner, washer fluid additives, and a light wax film transferred from body towels all smear when they warm up. When you wipe with a dirty towel, or with cleaner that dries before you buff it, you are not removing that residue — you are spreading it into lines. That is why method matters more than cleaner.
A good cleaner with a dirty towel still streaks; a basic ammonia-free cleaner with two clean towels, on cool glass, does not. See streaks as residue management, not dirt removal, and every step below makes sense.
What you need
- Two clean, dry microfiber towels — one for wiping, one for buffing. Glass towels should be separate from body towels. A towel that dried the car body carries wax and sealant residue, and that residue is exactly what streaks glass. If your glass towels live with your body towels, wash them separately or keep a dedicated pair.
- An ammonia-free automotive glass cleaner, or a simple mix of rubbing alcohol and distilled water in a spray bottle. Ammonia-free is the safe default, especially if you have tint — see the tint section below.
- A spray bottle, if your cleaner does not already have one.
- A glass cleaning wand or a long-handled tool for steep windshields and tight rear windows, if you have one. It is optional, but it saves a lot of reaching.
- A step stool for tall vehicles, so you can reach the top of the windshield without leaning across the hood and smearing it.
For the wash that comes before glass work, see our guide to how to wash a car without scratches. Glass goes after washing, and interior glass goes last in the cabin routine — our DIY interior detailing guide explains why dust from earlier steps settles on clean glass if you do it first.
Step by step: shade, dust, two-towel method, edges, interior film
- Step 1: Work on cool glass, in the shade. Never clean windows in direct sun or on hot glass. Heat evaporates cleaner before you can buff it, baking streaks onto the surface. Early morning, late afternoon, or a shaded spot is ideal. Touch the glass: if it feels warm, wait. This single rule prevents more streaks than any product choice.
- Step 2: Dust the glass first. Wipe each window lightly with a dry microfiber towel before any cleaner touches it. This removes dust and grit that would otherwise mix with cleaner and drag across the glass. It takes thirty seconds per window and it matters — grit under a wiping towel is also how dusty glass picks up faint scratches over time.
- Step 3: Spray the towel, not the glass. Spray cleaner onto the wiping towel, not directly onto the window. Spraying the glass sends overspray onto dashboards, door cards, and trim, and those plastics release oils that drift right back onto the glass as haze. A lightly damp towel is enough — do not drench it. Less product means less residue to buff off.
- Step 4: Wipe, then buff immediately. Wipe one window with the damp towel in firm, even, straight strokes. Then immediately buff the same window with the second, dry towel, using lighter pressure. Do not let the cleaner air-dry. Flip the buffing towel to a fresh, dry section often — once a section feels damp, it stops buffing and starts smearing. Work one window at a time, wipe then buff, rather than wiping the whole car and buffing at the end.
- Step 5: Use opposite directions inside and out. Wipe the outside of a window with vertical strokes and the inside with horizontal strokes (or the reverse — just keep them different). This is a diagnostic trick: when you inspect the glass afterward, a vertical streak is on the outside and a horizontal streak is on the inside. Without this, you waste time re-cleaning the wrong side. Straight lines also beat circles here, just as they do on paint — circular wiping turns faint marks into visible swirls of residue.
- Step 6: Do the edges everyone misses. Roll each side window down an inch or two and wipe the top edge of the glass that hides inside the door seal. That strip collects grime and is visible from outside the moment the window is up. Wipe around the full frame of each window too, where cleaner and dirt collect at the seals. For the windshield, lift the wipers and clean under them, and clean the wiper blades themselves with a damp cloth — dirty blades smear the windshield the first time it rains.
- Step 7: Interior glass last, and the windshield film. Interior glass goes last in any interior job, so dust from earlier steps does not land on it. The inside of the windshield deserves special attention: its hazy film is a major cause of nighttime glare, and it comes from interior plastics, not outside dirt. Use a glass wand for hard-to-reach corners, and work the rear window carefully around defroster lines — light pressure, strokes along the lines, never across them.
Tinted windows: the safety rules
If your windows are tinted, three rules protect the film. First, use ammonia-free cleaner only — ammonia can discolor and weaken tint film, especially aftermarket film, and the damage shows as bubbling or purple discoloration that cannot be cleaned off. Second, use soft microfiber only, never paper towels or abrasive pads, which scratch film. Third, use cleaner sparingly and keep it off the film edges — excess liquid seeping under the film edge weakens the adhesive. Factory tint, which is tinted glass rather than a film, is more forgiving, but the ammonia-free rule is still the safe default if you are unsure which type you have. When in doubt, test your cleaner on a small, hidden corner of one window first.
Stubborn haze: water spots, film, and etched glass
If streak-free wiping still leaves haze, identify what it is. Hard water spots — pale, round marks from mineral-heavy water drying on the glass — often respond to a dedicated water-spot remover or a gentle clay bar treatment on the outside glass, used with plenty of lubricant and light pressure. Interior plastic film responds to the two-towel method with a fresh towel and a second pass, not to more product. Wiper chatter marks and fine scratches in the glass itself are different: they are physical damage, and aggressive polishing of glass is a specialist job that can distort the surface if done wrong. Etched glass — damage from long-term hard water, chemicals, or neglect that has eaten into the surface — will not wipe clean with any method in this guide. If a window looks hazy from every angle after two careful cleaning passes, and the haze does not change when you wipe, it is likely etched. That is a replacement or professional polishing question, and knowing the difference saves you from buying ever-stronger cleaners for a problem cleaners cannot solve.
Mistakes that cause streaks
- Cleaning hot glass in direct sun. Cleaner flashes off before buffing and bakes streaks on. Shade and cool glass first.
- Paper towels. They shed lint, break down when damp, and leave a fine fuzz that looks like streaking in sunlight. Microfiber only.
- One towel for everything. A body towel carries wax and sealant onto glass. Glass towels stay separate and clean.
- Spraying cleaner on the glass. Overspray hits plastics, plastics release oils, oils haze the glass. Spray the towel.
- Letting cleaner air-dry. Buff immediately, with a dry towel, one window at a time. Dried cleaner is a streak by definition.
- Ammonia cleaner on tinted windows. It damages film over time. Ammonia-free is the default.
- Skipping the edges. The hidden top edge of side windows and the seal frames collect grime that shows the moment you finish.
FAQ
What is the best glass cleaner for cars?
Any ammonia-free automotive glass cleaner works well, and a simple rubbing alcohol and distilled water mix is a fine low-cost alternative. The cleaner matters less than the method: two clean microfiber towels, cool glass, and immediate buffing beat an expensive cleaner used badly every time.
Can I use vinegar and water on car windows?
A diluted vinegar solution can clean glass, but the smell lingers inside the car and strong mixes can bother trim. An ammonia-free cleaner or alcohol-water mix is simpler and safer, especially on tinted windows.
How do I tell whether a streak is inside or outside?
Wipe outside glass vertically and inside glass horizontally. A vertical streak is outside, a horizontal streak is inside. This one habit ends the common frustration of re-cleaning the same window three times on the wrong side.
My wipers smear the windshield every time it rains. Is it the glass or the blades?
Usually the blades — or the glass under them. Clean the wiper blades with a damp cloth, clean the windshield properly with the two-towel method, and check the blades for torn or hardened rubber. If smearing survives clean glass and clean blades, the blades are worn and need replacing, which is a cheap fix.
How often should I clean car windows?
Exterior glass gets cleaned with every wash, and interior glass every few weeks or whenever glare appears at night. The inside of the windshield films up faster than most drivers expect, so if nighttime glare is getting worse, clean the inside glass before blaming the headlights.
Closing note: SudsGarage is a DIY information blog, not a detailing service. Nothing here is a booking offer, and no result is guaranteed — glass type, tint, water quality, and previous damage all affect the outcome. If a window is etched, cracked, or damaged, replacement is the right answer, not stronger cleaner.