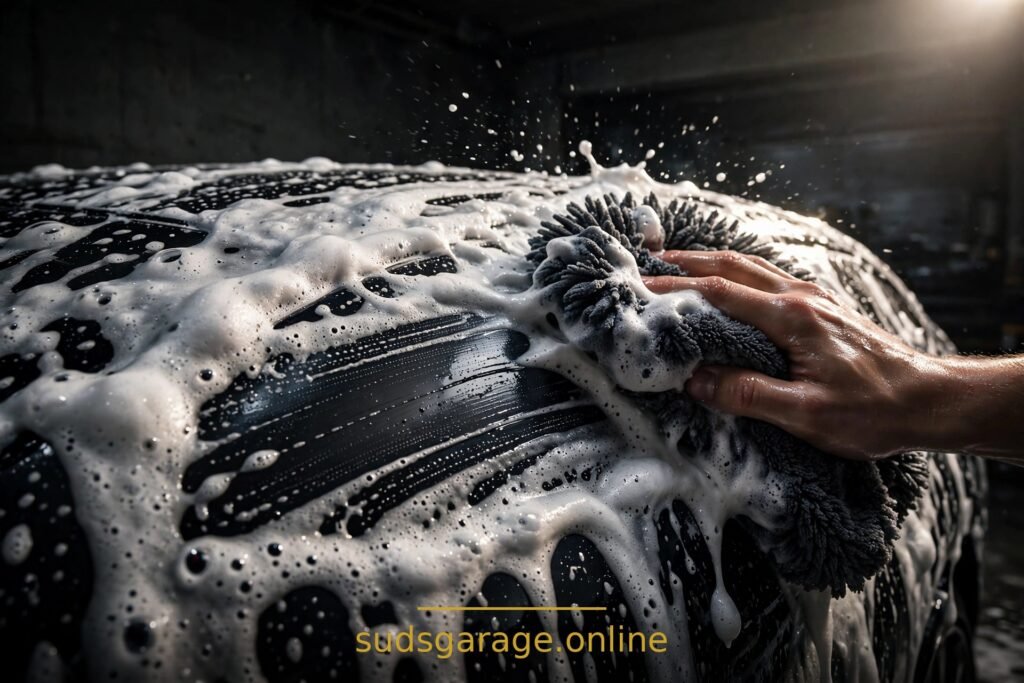
Learning how to wash a car without scratches starts with one fact: most wash scratches come from dirt dragged across paint, not from soap. Use two buckets — one soapy, one clean rinse water — wash top to bottom in straight lines, keep a separate mitt for wheels, and dry with a clean microfiber towel right away. Skip dish soap, skip old bath towels, and never wash a hot panel in direct sun.
In this guide:
- What you need (and what to leave in the house)
- The 2-bucket setup, done right
- Step by step: wheels first, then the wash, then the dry
- Mistakes that put swirls in paint
- FAQ
What you need (and what to leave in the house)
You do not need a shelf full of products to wash safely. You need clean tools, and you need them to stay clean while you work.
Here is the short list I use on my own car:
- Two buckets, plus grit guards if you have them. A grit guard is just a raised grid that sits at the bottom of the bucket and lets dirt fall below your mitt.
- A microfiber wash mitt. Not a kitchen sponge, not an old t-shirt. Sponges trap grit flat against paint; a mitt holds it up in the fibers, away from the surface.
- A pH-neutral car shampoo. Dish soap will clean, but it strips wax and sealant fast, which leaves your paint unprotected for the next wash.
- Two or three large microfiber drying towels, clean and dry.
- A separate brush or mitt for wheels only. Brake dust is abrasive, and it has no business touching your paint mitt.
- A hose with a regular nozzle. A pressure washer is optional, and if you use one, keep it at a sensible distance and never aim it straight at badges, trim edges, or peeling paint.
Leave the bath towels, the paper towels, and the all-purpose household cleaner in the house. Bath towels are too rough when dry and they push dirt around instead of lifting it. Household cleaners are often too strong for paint, trim, and rubber.
The 2-bucket setup, done right
The idea is simple, and it is the whole reason this method works. One bucket holds your soapy wash water. The other holds plain, clean rinse water. You never put a dirty mitt back into the soapy bucket. You rinse it first, every single time.
Fill the rinse bucket with plain water. Fill the wash bucket with water and the amount of shampoo the label recommends — more soap is not more cleaning power, it is just more residue to rinse off.
Drop a grit guard into each bucket if you have them.
Set both buckets in the shade if you can, or at least where they will not sit in blazing sun while you work.
Wash in the shade, or early in the morning or late in the afternoon. Hot panels dry soap and water before you can rinse them, and those dried spots turn into water spots that are annoying to remove.
If the panel feels hot to the back of your hand, wait for it to cool.
Step by step: wheels first, then the wash, then the dry
Step 1: Rinse the whole car
Start with a thorough rinse, top to bottom, to knock loose dust, pollen, and grit off the paint before anything touches it. This one step prevents more scratches than any product will.
Pay attention to the lower panels and the areas behind the wheels, where grit collects.
Step 2: Clean the wheels with their own tools
Wheels are the dirtiest part of the car, so do them before the body. If you wash the body first and then splash wheel grime onto clean paint, you have undone your own work.
Use your dedicated wheel brush or mitt and a wheel cleaner that suits your wheel finish — if you are unsure, a pH-neutral cleaner and a test spot on one wheel are the safe move. Rinse each wheel well before moving on, and keep your wheel tools away from your paint mitt for the rest of the wash.
Step 3: Wash one panel at a time, top to bottom
Dunk the mitt in the soapy bucket and wash one panel — the roof first, then the hood, then a door, and so on, always moving from the cleanest areas to the dirtiest. The roof and upper panels carry the least grit; the lower doors, rocker panels, and bumpers carry the most, so save them for last.
Use straight, overlapping lines, not circles. Circular motion is how swirl marks get their shape.
Light pressure is enough. Let the mitt and the soapy water do the work, and if a spot needs more attention, re-wet it and go over it again gently rather than pressing harder.
Step 4: Rinse the mitt before every reload
After each panel, dunk the mitt in the rinse bucket, rub it against the grit guard, and wring it out. You will see dirt come off in the water. Only then go back to the soapy bucket. This is the step people skip when they are in a hurry, and it is the step that matters most. A mitt loaded with grit is basically sandpaper.
If you drop the mitt on the ground, stop. Rinse it thoroughly, and if it picked up stones or coarse dirt, swap it for a clean one. One dropped mitt can undo an otherwise perfect wash.
Step 5: Final rinse, then dry immediately
Rinse the whole car once more, top to bottom, and check that no soap is sitting in panel gaps, around badges, or under the mirrors. Then dry right away. Water left to air-dry leaves mineral spots, especially on dark paint.
Dry with a large, clean microfiber towel, laid flat and pulled gently across the panel, or patted down where the shape allows. Flip or refold to a clean section often.
Open the doors and wipe the door jambs and the area around the trunk seal, where water hides and drips out later.
If you have a second dry towel, use it for a final pass on glass and mirrors.
Step 6: A quick protection check
A wash is also a good time to notice whether your protection is still working. If water still beads up and rolls off, your wax or sealant is doing fine. If water sheets flat and clings everywhere, your protection has worn thin, and that is a good moment to plan a wax or sealant session — not to rush one onto a half-dry car.
For the order of a full detail, see our DIY interior detailing guide and the checklist approach we follow on this site.
Mistakes that put swirls in paint
- One bucket, one sponge. A single bucket gets dirtier with every dip, and a flat sponge holds that dirt against the paint. This is the most common cause of wash swirls, and it is also the easiest to fix.
- Washing in circles. Circular motions turn every tiny scratch into a visible swirl. Straight lines do not eliminate scratches entirely, but they make any faint marks far less visible.
- Using the same mitt on wheels and paint. Brake dust is sharp. Keep wheel tools and paint tools separate, always.
- Washing a hot car in direct sun. Soap dries on the panel, water spots bake in, and you end up scrubbing dried residue — which scratches.
- Drying with an old towel. A rough, dirty, or dry bath towel drags whatever is left on the surface. Use clean microfiber, and keep a spare.
- Skipping the rinse. Touching paint before rinsing loose grit off is like washing with sand in the mitt. Rinse first, every time.
FAQ
Can I wash my car without a hose?
Yes, for light to moderate dirt. A rinseless wash uses a few gallons in buckets and plush towels instead of a running hose, and the same rules apply: clean towels, straight lines, and a fresh towel section as soon as one loads up with dirt. For heavy mud or gritty lower panels, a hose rinse first is still the safer choice.
Is the 2-bucket method really necessary, or is one bucket with a grit guard enough?
One bucket with a grit guard is better than one bucket without one, but it still mixes rinse dirt into your wash water over time. Two buckets cost almost nothing and keep the dirt physically separate. If you wash often, the second bucket is the cheapest insurance your paint will ever get.
Can I use dish soap just this once?
It will clean the car, but it will also strip wax and sealant, which means your paint is unprotected afterward and the next wash is harder. If you have already used it, plan to reapply protection soon. For routine washes, a pH-neutral car shampoo is the right tool.
How often should I wash my car?
For a daily driver, every one to two weeks is a good rhythm. Longer gaps let bonded dirt, bird droppings, and bug splatter sit on the paint, and those are harder — and riskier — to remove later. Bird droppings and bug splatter in particular should come off promptly, because they can etch paint if left in the sun.
Do I need to wax after every wash?
No. Wash often, protect occasionally. A spray wax or sealant every few months, or a full wax when water stops beading, is plenty for most cars. Washing itself does not require a fresh coat of wax each time.
Closing note: SudsGarage is a DIY information blog, not a detailing service. Nothing here is a booking offer, and no result is guaranteed — paint condition, water quality, and previous damage all affect what a wash can achieve. If your paint already has heavy swirling, our guide to how to remove swirl marks by hand explains what hand polishing can and cannot fix.
Pingback: How to Remove Swirl Marks by Hand (No Machine Needed) - SudsGarage
Pingback: How to Restore Cloudy Headlights at Home (Clear in One Afternoon) - SudsGarage
Pingback: How to Clean Car Windows Without Streaks - SudsGarage
Pingback: How to Remove Brake Dust From Wheels (Without Damaging the Finish) - SudsGarage
Pingback: Complete DIY Car Detailing Checklist (Wash to Protection, in Order) - SudsGarage